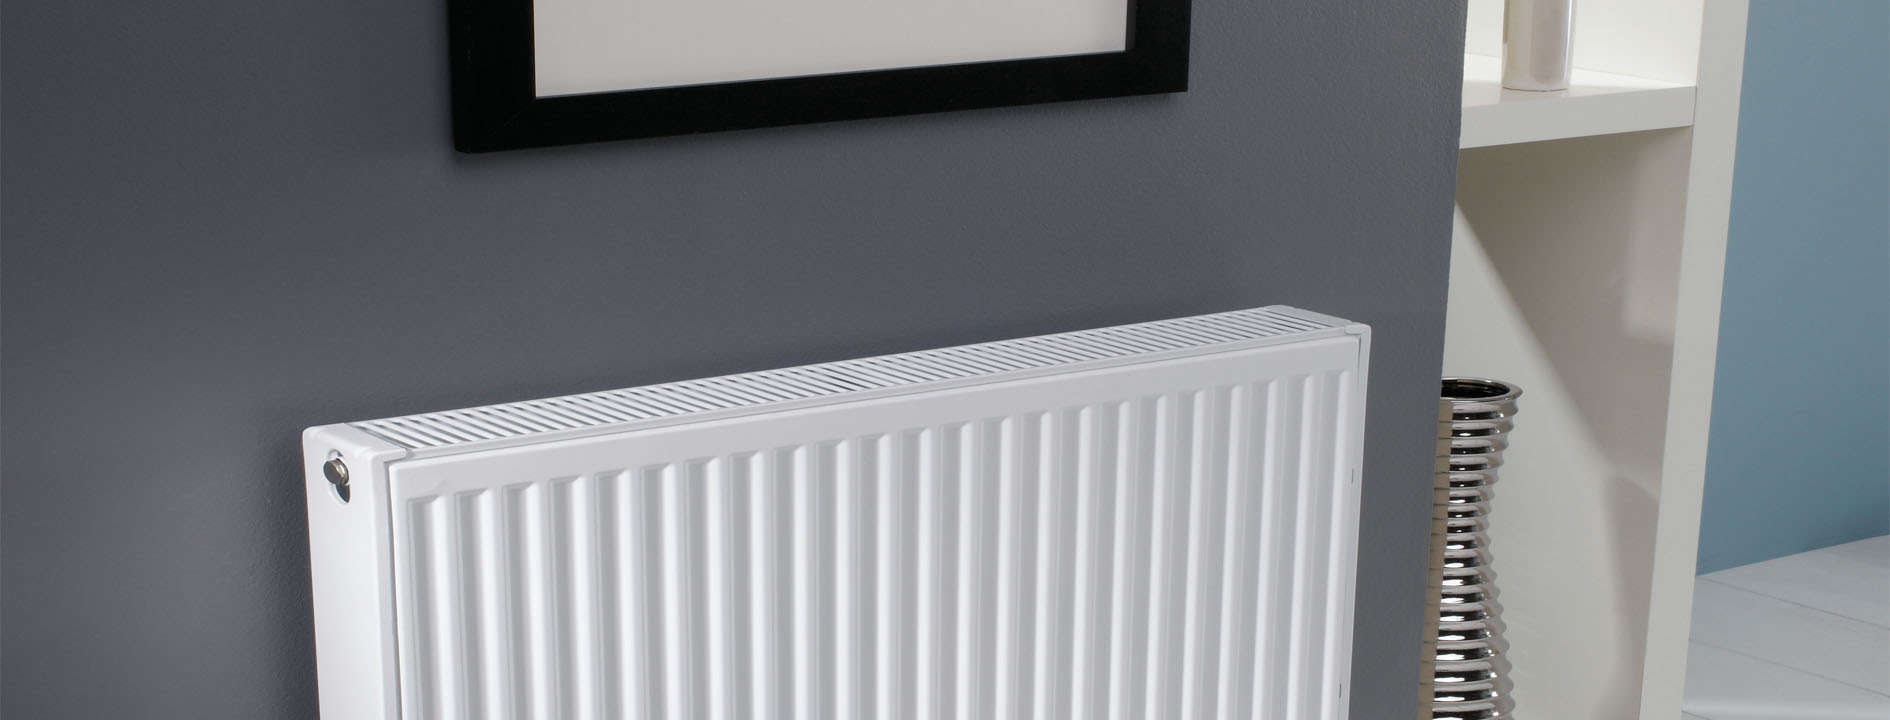
How to fix a leaking radiator
Before beginning, prepare the area around the radiator by putting some towels down on the floor, and have a large bucket to hand to catch any water that you can.
To locate the source of a water leak on a wet radiator, it is important to dry the surface with a towel or kitchen roll. This can be tricky if the radiator is completely saturated, but once it is dry, the leak's source will be easier to identify. To do this, take some toilet tissue and methodically check each fixture or union on the radiator one by one. This will help you understand where the leak is coming from. While a radiator can leak from anywhere, it is typically found where it joins the valves, around the bleed valve, or on edges and corners where the welding may have deteriorated.
Radiator leaks can stem from different sources, which typically fall into three categories: the radiator body, the valve or tail, or the water-filling pipe. Generally, a faulty radiator valve is the primary culprit behind leaks. To remedy this issue, you can try the following method to fix your leaking radiator valve.
Fixing a leaky radiator valve is usually a simple task. The leak is typically caused by worn out or damaged spindle packing within the valve. This type of leak usually occurs when the valve is mid-open and can be stopped by fully closing the valve.
- Drain the system – To repair a leaking rad valve you will first have to drain down the system to a point lower than where the leak is occurring.
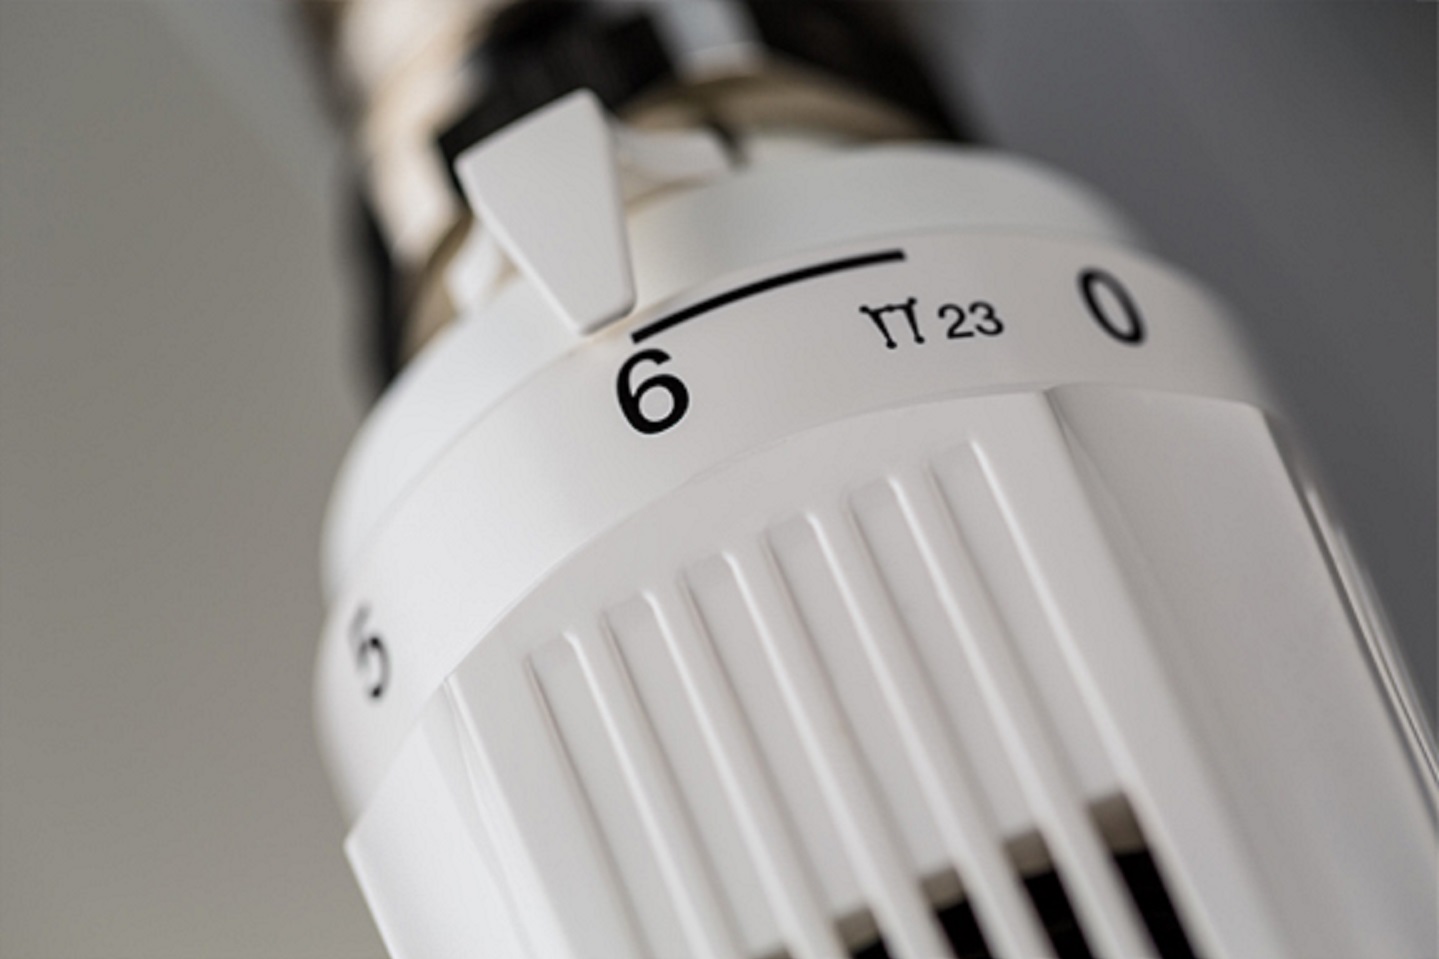
- Close the valves – To turn off the radiator, make sure to close both the supply valve (where the water enters) and the lockshield valve (located on the opposite side of the radiator with a plastic cap). It's important to count the number of turns it takes to close the lockshield valve.
- Protect the floor – Prepare your towels and bucket to catch any water that may come from the radiator.
- Loosen the nut – Undo the union nut between the feeder pipe and radiator with an adjustable spanner.
- Drain the radiator – Open up the bleed valve to drain the remaining water from the radiator into the bowl.
- Tape up – Wrap 10-15 times with PTFE tape starting from the male end of valve tail.
- Open the valves – Re-tighten the union nut and open the bleed and lockshield valves (remembering how many times you turned it before to close it).
- Close the bleed valve – After the water supply resumes, thoroughly inspect for any potential leaks and seal the bleed valve.
What if I need to replace a valve?
Before replacing a radiator valve, it is important to purchase a replacement valve of the same type as your existing valve. A different type of valve may not properly align with the water pipe.
Before replacing the valve, it is necessary to drain all the water from the central heating system. Then start by unscrewing the nuts connecting the water pipe to the valve and proceed to unscrew the valve.
Before installing the new valve, make sure to clean the threads at the end of the radiator. Apply PTFE tape to the threads of the new adapter. Carefully screw it into the radiator to avoid over-tightening and damaging the fixing.
Slide the valve cap-nut and a new olive over the end of the pipe, then connect the new valve.
After installing the new valve, you must refill the system and bleed the radiators to remove any air.
Make sure to thoroughly inspect the fitting site for any potential leaks.
Are you experiencing a radiator leak from the spindle?
A damaged spindle in the radiator-pipework connection can certainly cause leaks, but is easily repaired.
First, try tightening the gland nut to see if the leak stops. If not, loosen the nut and wrap PTFE tape around the spindle before tightening it again.
If the leak persists, draining the system and replacing the valve may be necessary. If all else fails, calling a plumber is recommended.
Is the radiator gland or valve the cause of the leak?
Retightening the coupling nut can fix a radiator valve leak, but if that fails, replacing the olive inside the coupling is probably necessary.
To fix a leaking pipe, drain the heating system of water and loosen the nut between them.
Remove the nut from the pipe, replace it with a
new one, and apply silicon sealant or PTFE tape before reconnecting the nut and
fitting. If this doesn’t work then you will probably have to replace the
radiator valve altogether.
How to repair a leaking radiator gland
If you notice that your radiator valve gland is leaking from under the plastic cap, it can be fixed easily with PTFE tape.
- To start, turn the valve off.
- If water is still coming out from under the plastic, turn off the lockshield valve located at the other end of the radiator.
- To complete the process, put the plastic cap back in place and turn the valve on again.
- Unscrew the gland nut using an adjustable spanner after removing the plastic cap, taking care not to damage it.
- Stretch a length of PTFE tape (about 20cm long) into a string and wrap it around the spindle of the valve – (the little bit sticking up.)
- Force the PTFE tape into the valve body using a small flat-headed screwdriver.
- Apply a small amount of silicone grease to the tape, then tighten the gland nut.
Does your radiator have a leak caused by corrosion?
Just like people and things, radiators also age and wear out over time.
The main cause of radiator corrosion is the build-up of sludge inside, leading to pinhole leaks as the radiator deteriorates from the inside out.
Sadly, it is not possible to permanently fix a leak caused by corrosion. However, there is a temporary solution available. If you have a feed and expansion tank – (two water tanks in your loft that maintain the level of water in your system) – adding a plastic resin sealant will stem the flow until you can purchase a replacement radiator.
Please note that this type of sealant must NOT be used in a sealed central heating system.
If your radiator is corroding and a leak occurs, regardless of any temporary measures you take, you will have to get a new radiator.
After you have replaced your old, leaky radiator with a new one, it is important to add a rust and corrosion inhibitor to the water. This will prevent the issue from recurring in the future.
How to repair a leaking pipe joint
In modern central heating systems, compression valves are typically used to connect pipes to radiators.
If one of these joins springs a leak, it is possible to perform a quick fix by tightening the valve with a spanner.
If the leak persists after trying the previous solution, then you can try the below:
- Drain down the system to below the level of the leak.
- Take a spanner and undo the nut at the joint of the leaking pipe and pull the pipe free.
- Wrap a couple of turns of PTFE tape where the olive meets the joint, then re-tighten the nut.
How serious is a radiator leak?
Radiator leaks can be serious, especially when the heating is on and the water is hot. It's important to turn off the heating before attempting to fix the leak.
Leaking radiator water can damage laminate flooring by causing swelling, warping and dissolving glue that holds boards together.
Sometimes, even the toughest hardwood floors can suffer damage and become stained due to a radiator leak. This can be problematic, especially considering the high cost of replacing the flooring or preserving the original boards.
Carpets can suffer from water damage, with mould and mildew developing within 24 hours of saturation and proving challenging to remove.
In addition to potentially ruining your home decor, leaky radiators can also damage your boiler. Over time, leaks can decrease the pressure in your heating system and cause the boiler to shut down.
No matter what action you take, sometimes it is best to call in the professionals and get them to fix the leak for you. The last thing you want to do is worsen a minor problem by tampering with something you shouldn't.
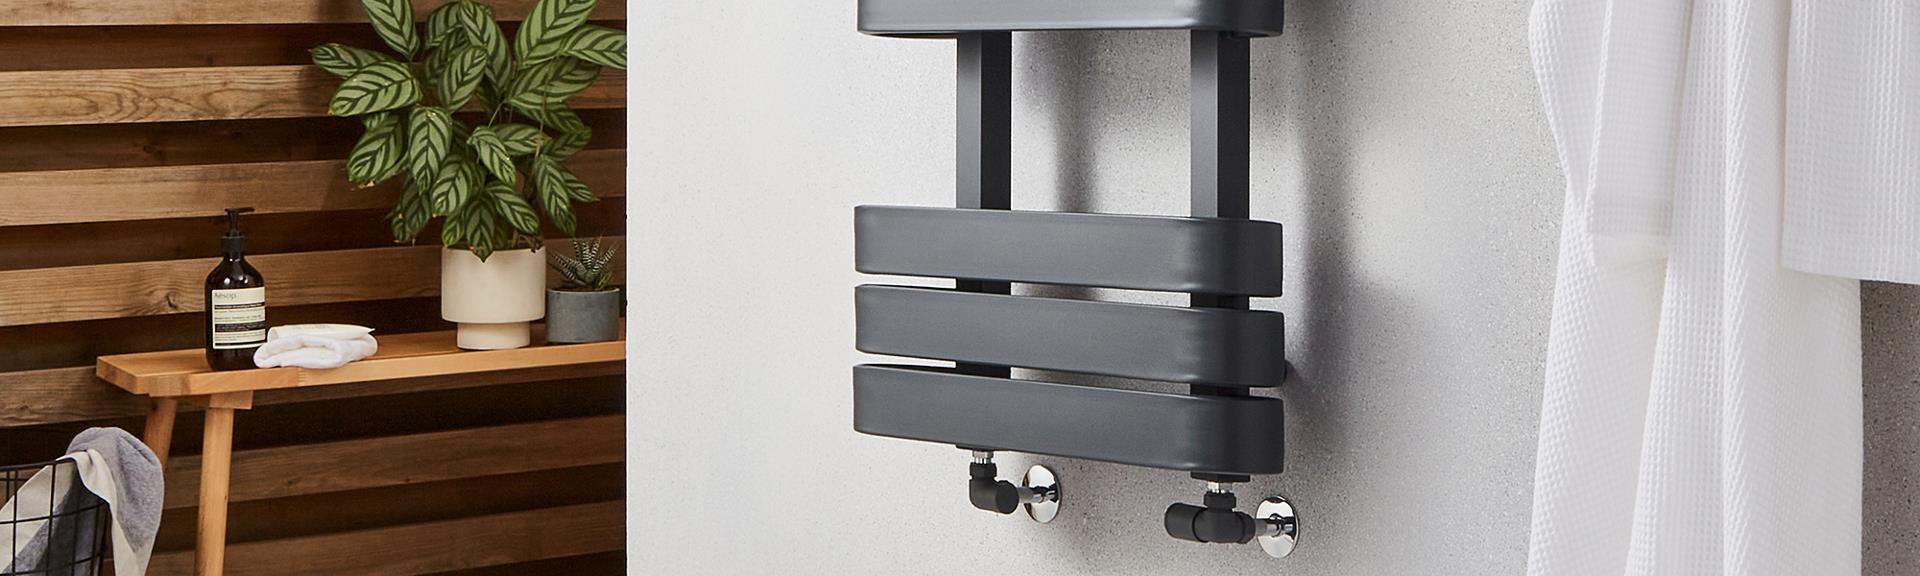
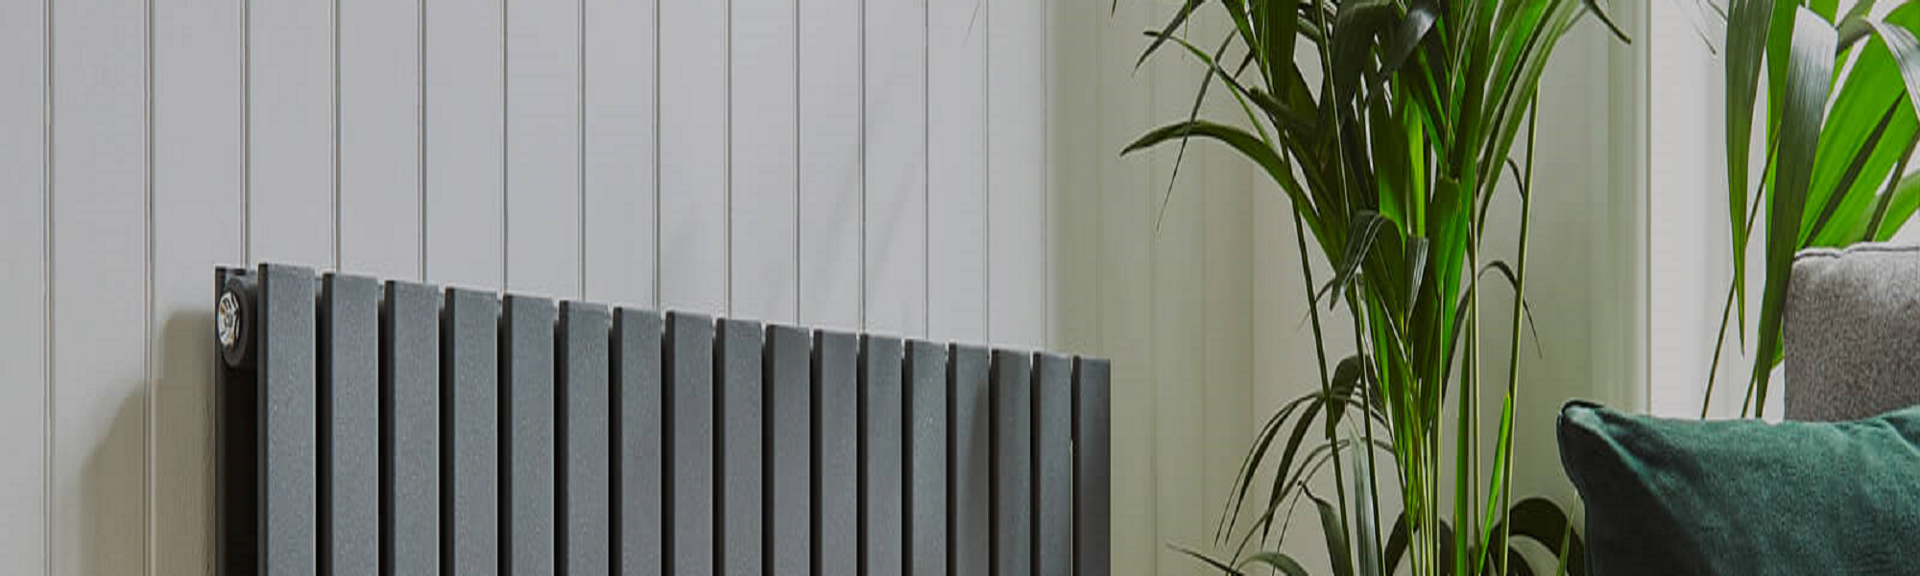
If you do require a replacement radiator, find some inspiration by taking a look at our wide range of designer radiators and panel rads.